ACCOUNTING WITH FURTHER FARMERS
Top Best Fertilisers for Orchids
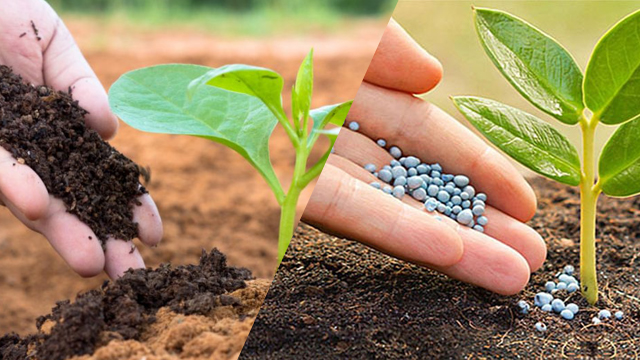
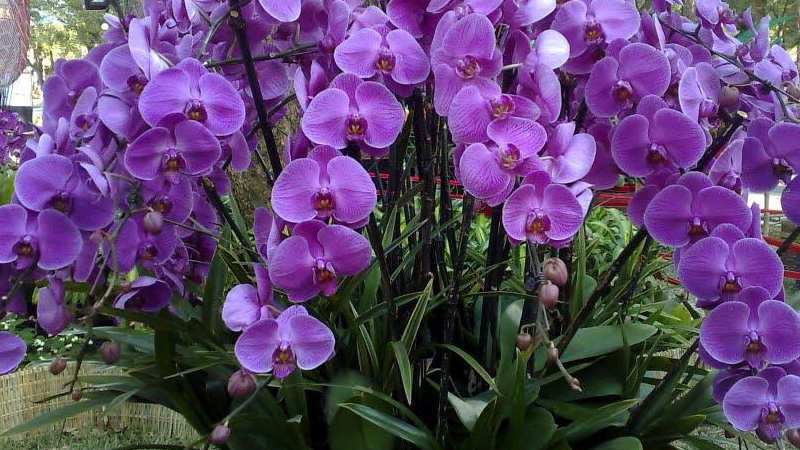
To help orchids grow strong, bloom beautifully, and flower at the right time, proper fertilisation plays a crucial role. However, not all fertilisers are suitable, and knowing how to apply them correctly is something every orchid grower should pay attention to.
Choosing and using the right fertiliser not only helps orchids develop comprehensively but also reduces pests and diseases, improves flower quality, and saves time and effort in care.
The following article on the top fertilisers for orchids will help you understand more about the different types of orchid fertilisers, how to make your own at home, and the proper timing and techniques for application.
Types of Fertilisers for Orchids
For orchids to grow well, bloom on schedule, and produce high-quality flowers, selecting the right fertiliser is essential.
Farmers and orchid enthusiasts can refer to several common types of fertilisers below, each suitable for a specific growth stage of the plant.
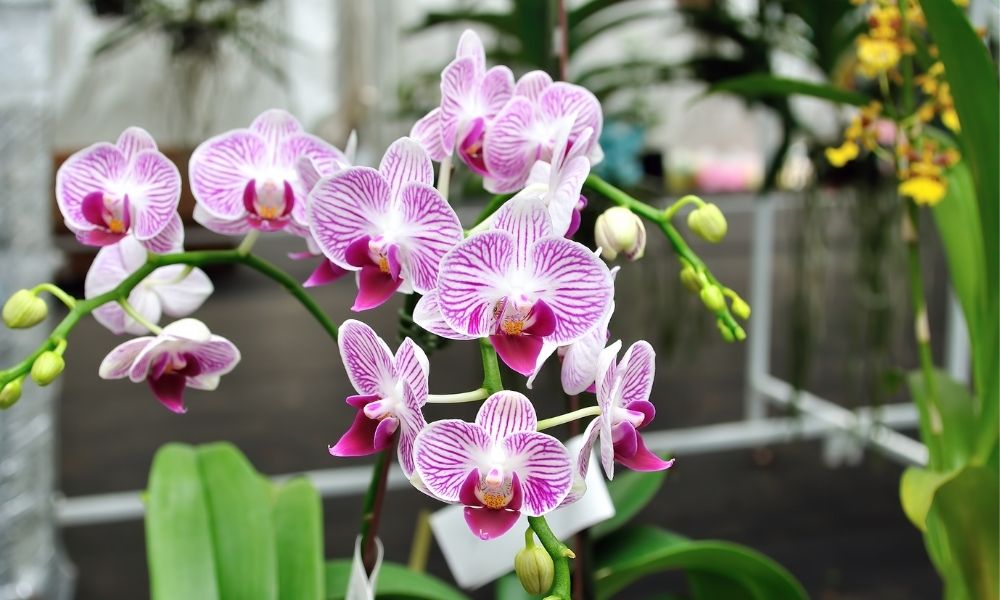
1. NPK Fertiliser
NPK fertiliser is a compound fertiliser that provides the three primary nutrients essential for orchid growth:
- Nitrogen (N): Promotes strong stem and leaf growth, giving plants a healthy green appearance.
- Phosphorus (P): Encourages healthy root development and stimulates flower formation.
- Potassium (K): Enhances resistance to stress and helps flowers develop vibrant colours and longer-lasting blooms.
Depending on the orchid’s growth stage, farmers should choose the appropriate NPK ratio:
- Seedlings / young orchids: Use 30-10-10 to promote rapid leaf and shoot development.
- Before flowering: Use 10-30-10 to stimulate flower bud initiation.
- Pre-flowering / blooming stage: Use 15-20-30 to increase potassium levels, ensuring bright, long-lasting flowers.
2. Foliar Fertiliser (Leaf Fertiliser)
Foliar fertiliser comes in liquid form and is applied directly to the leaves, allowing orchids to absorb nutrients quickly through the leaf surface.It is especially effective when the plant’s roots are weak or during unfavourable weather conditions that limit soil nutrient uptake.
Farmers should choose products that include micronutrients such as iron (Fe), magnesium (Mg), and zinc (Zn) to prevent yellowing leaves and slow growth. Foliar fertilisers are also an excellent choice for supporting orchids during the pre-flowering and flowering stages, helping to enhance bloom quality and plant vitality.
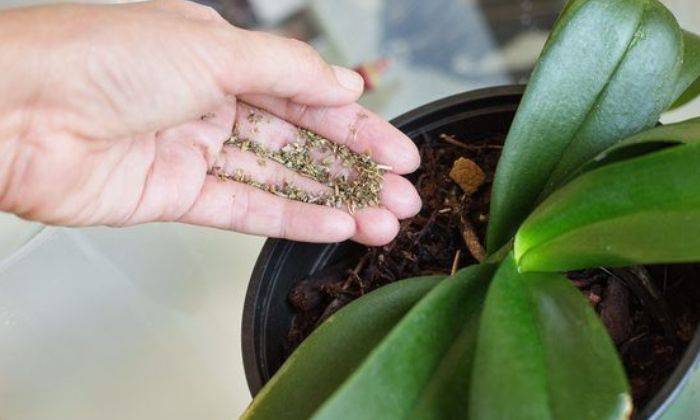
3. Goat Manure (Decomposed)
Well-composted goat manure is a nutrient-rich, organic fertiliser that is both safe and highly effective for orchids. It comes in the form of small, dry pellets with little to no odour, and it does not attract insects,making it ideal for home orchid growers. Key benefits of goat manure:
- Provides a balanced supply of NPK and essential micronutrients.
- Improves soil structure, enhances moisture retention, and supports the growth of beneficial microorganisms.
- Has a slow-release nature, allowing orchids to absorb nutrients gradually for steady and sustainable growth.
4. 4. Earthworm Castings (Vermicompost)
Earthworm castings, often called the “king of organic fertilisers”, are rich in enzymes and beneficial microorganisms.
This makes them an ideal fertiliser for orchids, especially during the root development stage or when plants need to boost their resistance to stress and disease.
Outstanding benefits:
- Cung cấp đầy đủ dưỡng chất thiết yếu, cân đối và dễ hấp thụ.
- Stimulates strong root growth and enhances the plant’s resilience to weather fluctuations and fungal diseases.
- Naturally cool and gentle, preventing root burn — safe for both plants and growers.
- Easy to use: Simply apply around the base of the plant or place in mesh bags on the growing medium. Each application remains effective for 30–45 days.
Simple Homemade Orchid Fertiliser Recipes
In addition to using specialised fertilisers, farmers can make organic fertilisers at home from common kitchen ingredients such as bananas and aloe vera.
These methods are cost-effective, safe, and highly beneficial for orchid growth.
1. Banana Solution Fertiliser
Ripe bananas are rich in potassium (K) – an essential nutrient that helps orchids produce vibrant, long-lasting flowers. Here’s how to make a banana-based fertiliser at home:
- Chop about 100g of ripe banana, then boil it with 1 litre of water until soft.
- Let the mixture cool down, then ferment naturally for 1–2 days.
- Blend the fermented mixture and strain it to extract the liquid.
- Store the fertiliser in a clean bottle, keeping it in a cool place or refrigerator.
How to use: Mix 15–20 ml of the banana solution with 1 litre of water. Apply around the orchid’s roots every 3–4 days.
This helps orchids stay healthy, develop strong blooms, and maintain flower colour longer.
2. Aloe Vera Solution
Aloe vera is a natural ingredient rich in vitamins (A, C, E, and B-group) and minerals such as magnesium, zinc, and copper, all of which are highly beneficial for orchids. It helps strengthen plant immunity, stimulate strong root growth, and keep the foliage healthy and vibrant green. How to make it (2 simple steps):
- Take about 100g of aloe vera gel, blend it finely.
- Mix it with 1 litre of clean water, let it soak for 1 hour, then strain to obtain the clear liquid.
How to use: Dilute 100ml of aloe vera solution with 1 litre of water. Water the base of the orchid every 3–4 days, depending on weather conditions and plant health.
When to Fertilise Orchids
The timing of fertilisation plays a crucial role in how effectively orchids absorb nutrients and maintain overall health. To achieve the best results, farmers and orchid enthusiasts should follow these key principles:
- Do not fertilise when orchids are suffering from heat shock, pests, or diseases, or right after repotting. At these times, the roots are weak and can be easily damaged by fertilisers.
- The ideal time is early morning or late afternoon, when the temperature is stable and humidity is moderate. These conditions help orchids absorb nutrients efficiently while minimising nutrient loss.
- Avoid fertilising during midday heat or immediately before or after rain, as extreme conditions can cause leaf burn, root rot, or nutrient washout.
- Frequency of Application
- Chemical fertilisers: Apply every 7–10 days.
- Organic fertilisers: Apply every 15–20 days, as they release nutrients more slowly and sustainably.
- Always use diluted fertiliser solutions applied regularly rather than heavy doses all at once — this helps orchids absorb nutrients gradually and avoid fertiliser shock.
- For Weak or Recovering Orchids : Use mild organic fertilisers or diluted foliar sprays to avoid stressing the plant. Gradually increase strength as the orchid recovers and resumes active growth.
Note: Each orchid species has different nutritional requirements. Regularly observe your plants — their leaf colour, root condition, and growth rate will help determine the right type and timing of fertilisation for optimal results.
Detailed Guide: How to Fertilise Orchids in Each Growth Stage
Applying the right fertiliser at the right time is the key to helping orchids grow evenly, stay healthy, and produce beautiful flowers. Below is a step-by-step guide on how to fertilise orchids through different growth stages.
Seedling Stage (Young Orchids)
At this stage, orchids are still developing their roots and leaves, so the fertilisation process must be gentle and precise.
- Use NPK 30-10-10, diluted to half the concentration recommended on the package.
- Prioritise foliar fertilisers, as young orchids absorb nutrients more effectively through their leaves than their roots.
- Once roots reach 2–3 cm in length, you can begin to add mild nutrient supplements to encourage stronger root growth.
- Suggested nutrient mix: Combine the following in 1 litre of water: 1 ml Vitamin B1 (promotes root development) – 1 ml ORG Hum (provides organic humic acids and micronutrients) – 1 ml Dekamon (stimulates growth and enhances nutrient uptake)
Spray evenly on the leaves and growing medium every 5–7 days, preferably in the early morning or late afternoon. - Avoid over-fertilising — excessive nutrients can stress or burn young plants.
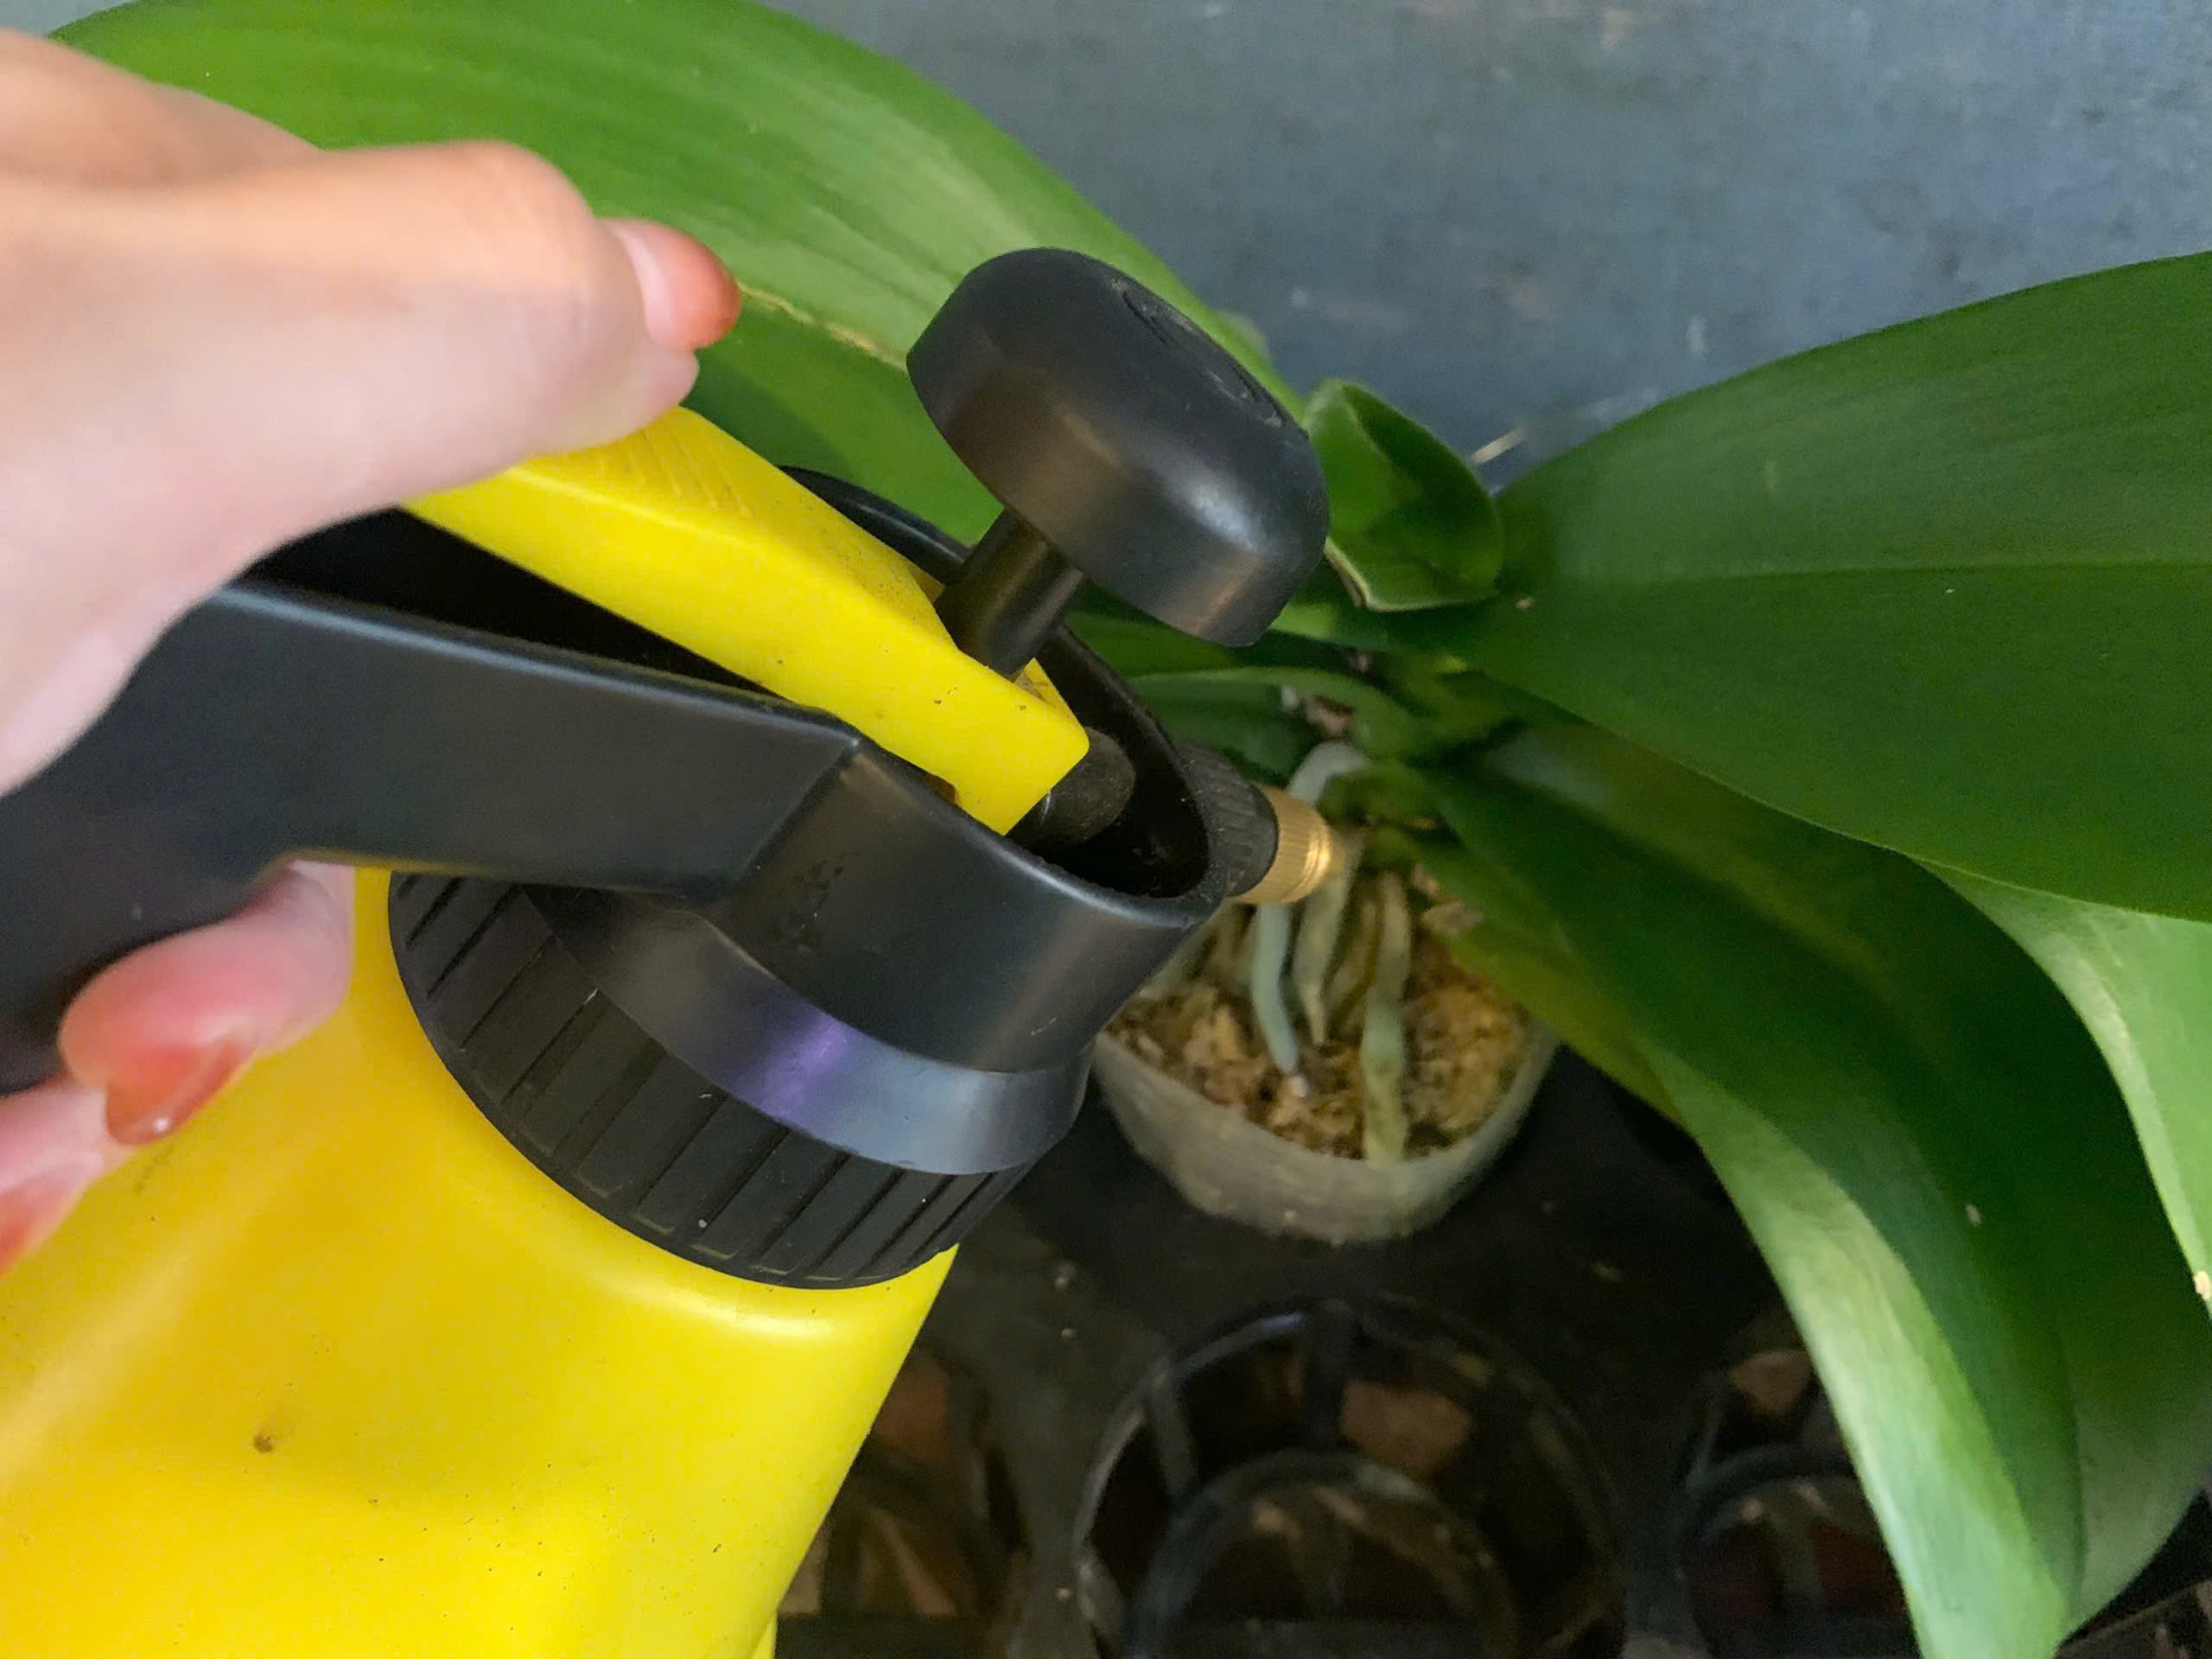
Applying foliar fertiliser is an essential step in caring for Phalaenopsis orchids, especially during the period when the plant is focusing on developing its stems and leaves.
During this stage, the plant’s leaves and stems require a steady nutrient supply to build strength and support future flowering.
- Continue using NPK 30-10-10 (for leaf and root growth) or switch to NPK 20-20-20 to maintain balanced nutrition.
- Add organic supplements such as vermicompost pellets or slow-release organic fertiliser to improve soil moisture, promote beneficial microorganisms, and enhance root health.
- Spray or apply fertiliser every 7–10 days using foliar fertilisers.
Mature Stage – Preparing for Flower Formation
At this stage, orchids are in their strongest growth phase, developing both in size and strength while beginning to form flower buds. Proper fertilisation during this period is essential to ensure the plant has enough energy for healthy blooms.
- Use NPK 20-20-20 (balanced nutrition) or NPK 10-30-10 (high in phosphorus to promote flower bud formation).
- Apply regularly to maintain strong roots and sturdy stems capable of supporting future blooms.
- Add biofertilisers or vermicompost (worm castings) around the base of the plant.
- Alternate between chemical fertilisers and organic ones — this prevents the orchid from becoming “dependent” on a single nutrient source while ensuring balanced, sustainable growth.
Pre-Flowering Stage – Preparing for Bloom
This is the most crucial phase that determines the quality, colour, and longevity of orchid flowers.
At this point, nutrient management needs to be adjusted to encourage flower spike initiation and bud development rather than vegetative growth.
- Stop using high-nitrogen fertilisers to limit leaf and stem growth.
- NPK 10-30-20 or NPK 15-20-30 — promote strong flower spikes and vibrant blooms.
- For even higher bloom intensity, use NPK 6-30-30 or potassium nitrate (13-0-46).
Combine these fertilisers with: Vitamin B1 – strengthens roots and reduces stress before flowering.
Fermented banana solution – provides natural potassium and organic acids that enhance nutrient absorption. - Applying fertiliser correctly at this stage will help orchids: Bloom uniformly and synchronously, Produce larger, well-shaped flowers, and Display deep, vivid colours with longer-lasting freshness.
Flowering Stage – Maintaining Beautiful and Long-Lasting Blooms
During the blooming period, orchids require gentle and careful care. Any sudden changes in fertilisation or watering can stress the plant and shorten the flower’s lifespan.
- Continue applying NPK 6-30-30 at a low dosage to help extend flower longevity and preserve rich colour tones.
- Avoid overwatering or applying too much fertiliser once the flowers have fully opened.
- To strengthen petals and stems, you can use high-potassium formulas such as NPK 7-5-47 or NPK 6-10-60.
- Comprehensive Nutrient Spray (Optional Mix): For an all-round nourishing solution, mix the following into 10 litres of water: 20 ml PowerFeed + 20 g Bud Blossom 6-30-30 +10 ml Vitamin B1 + 2 ml Atonik . Spray evenly on the entire plant and growing medium to maintain strength and vibrancy throughout the flowering phase.
Important Note: Avoid spraying directly on buds or flower spikes, as this can cause burning or premature flower drop.
Gentle misting around the leaves and roots will keep the plant hydrated and glowing beautifully until the end of the bloom cycle.
Important Notes When Fertilising Orchids
To help orchids grow healthily, bloom in season, and stay free from pests and diseases, growers should pay close attention to the following key points when fertilising:
- Avoid OverfertilisationDo not apply fertiliser excessively, especially chemical ones. Overuse can burn roots, cause yellowing leaves, or even make buds drop prematurely.
- Fertilise Only Healthy PlantsApply fertiliser only when the orchid is healthy and showing no signs of disease or transplant shock. Fertilising weak plants may increase stress and slow their recovery.
- After each fertilisation, observe how the plant reacts. If growth slows or abnormal symptoms appear, adjust the fertiliser type or reduce application frequency.
- Alternate between NPK fertilisers and organic options such as vermicompost or well-composted goat manure. This ensures a balanced, long-term nutrient supply and keeps the growing medium healthy.
- Always use well-composted or pre-treated fertilisers, such as Viet Nga Agri’s specialised orchid products, to prevent harmful pathogens from entering the potting mix.
- When applying foliar fertiliser, spray on the underside of leaves — where stomata are concentrated — for faster absorption and higher efficiency.
- After spraying, rinse the leaves with clean water in the afternoon to remove residue, especially during hot, sunny periods.
- For young or newly transplanted orchids, it’s best to apply only half the recommended fertiliser dosage at first.
- During hot, sunny days, fertilise early in the morning (around 7 AM) when temperatures are mild.. If needed, water again 2–3 hours later to cool the roots and help nutrients absorb more effectively.
Conclusion
Applying fertiliser correctly and consistently is the key to helping orchids grow vigorously, bloom evenly, and produce beautiful flowers. We hope that the insights shared in this article on the top fertilisers for orchids will give growers more practical experience in orchid care. If you still have questions or are looking for high-quality fertiliser sources, don’t hesitate to contact: Viet Nga Agri – your trusted companion in every garden.
Related news
The Role of Base Fertilization in Soil Improvement and Enhancing Agricultural Fertility

Measures to Improve and Treat Saline Soil

Winter-Spring rice blast warning – Don’t let leaf and flower burns rob you of your golden crop

Rice Sowing Techniques for the Early Winter–Spring Crop
What Is Slow-Release Fertilizer? Learn How to Use It Effectively